DIY Furniture
How I Made a DIY Cedar Herringbone King Sized Headboard – Week One By Kristin Omdahl
Sep
How I Made a DIY Cedar Herringbone King Sized Headboard – Week One By Kristin Omdahl
It has been a life long dream of mine to build wood furniture. At some point I am not opposed to using power tools, but for now I am OBSESSED with doing all of the work by hand. Yes, ALL of the work. All of the sawing, nailing, sanding, everything. For me, the #HammerTherapy is no joke. I find peace and solace in hard work. Always have. That’s how I turned learning to run into running a marathon in 8 months. There is no substitute for sweating hard, pushing your muscles hard, and concentrating on something with so much energy you don’t have the capability of sharing your braincells with worrying about your problems.
For one reason or another, or one excuse or another, I have not allowed myself to explore this dream, until last month! Lately, I have needed #HammerTherapy big time. And I’m so grateful I finally gave in to my desire to begin building stuff. I decided to start very basic at first, to get my feet wet. You can see that from my prior blog posts, How I made a crate coffee table, How I made a TV stand, and How I made wall art with yarn, nails and wood. But the true dream was to build real furniture from scratch, no pre-made pieces allowed. Repurposed, distressed wood would be ideal, but around me I only know of one source: Home Depot. And they don’t give away old stuff for free…
I stumbled upon bundles of cedar shingles/shims and decided the imperfections and odd sizes were the closest thing I could find to repurposing old wood at a retail store. I was able to buy them in big bundles for $9.98/each. So I started with 2 sheets of 2’x’4 plywood, 2 strips of 1″x2″x8ft boards and 3 bundles of the cedar shingles/shims. I bought a kit of a miter box, hand saw, two table clamps, and a couple boxes of nails, And by know you know I had my Grandpa’s hammer at home ready to assist me.
First I took the 1″x2″x8ft board up to my bedroom to see if 8feet was even going to work on my wall. Good thing, too, because the wall space I wanted to fill wasn’t even 8 feet wide. What a disaster that would have been! It’s more like 7 feet, so I rounded down to 6ft and that will be the size of the base (it will be a bit wider once I frame it in later).
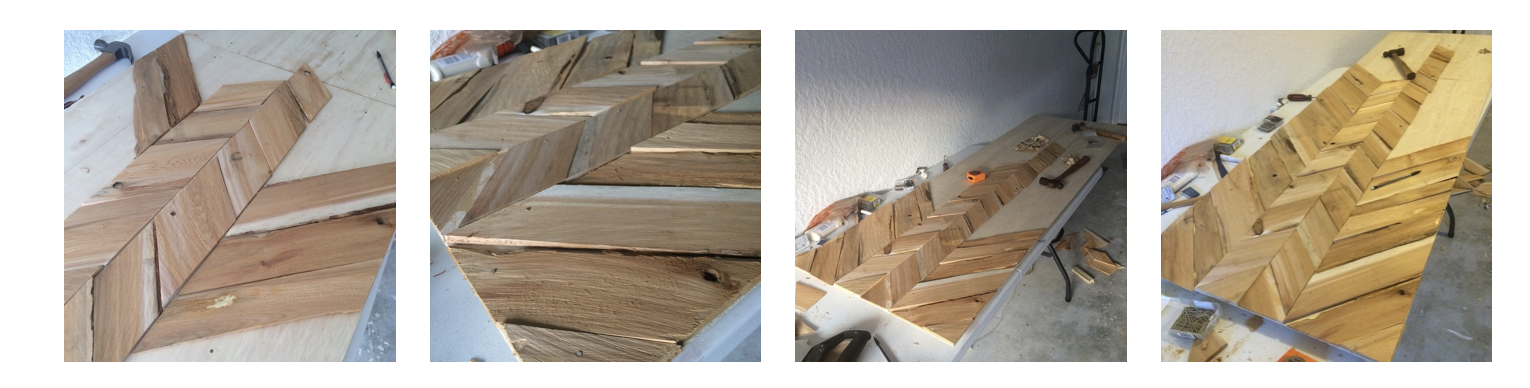
I cut the one plywood board in half, cut 2.5ft off the 1″x2″x and lined them all up on the table to nail together, crosswise. Just like when you build with legos! Then I drew pencil lines where I wanted the herringbones to line up and decided I didn’t want every board to be the same size. The two middle rows are 5.5″ long and the two outer rows are 7″ long.
I started with lining up the 5.5″ pieces along the center line. Had to custom cut the edge pieces (they are more like triangles). The easiest way to to this was to cut a 45 degree angle on the one side (like all the other pieces) but instead of trusting that the second cut would be 5.5″ wide on the other side, I lined it up and penciled a line across the edge of the base board on the underside. Using that line as a guide, cut my second 45 degree angle.
I ended up doing that for the 7″ pieces along the outer edges too because I thought it would give a better finished edge if anything else was off by a bit. This is the progress after the first day, maybe almost half way done?
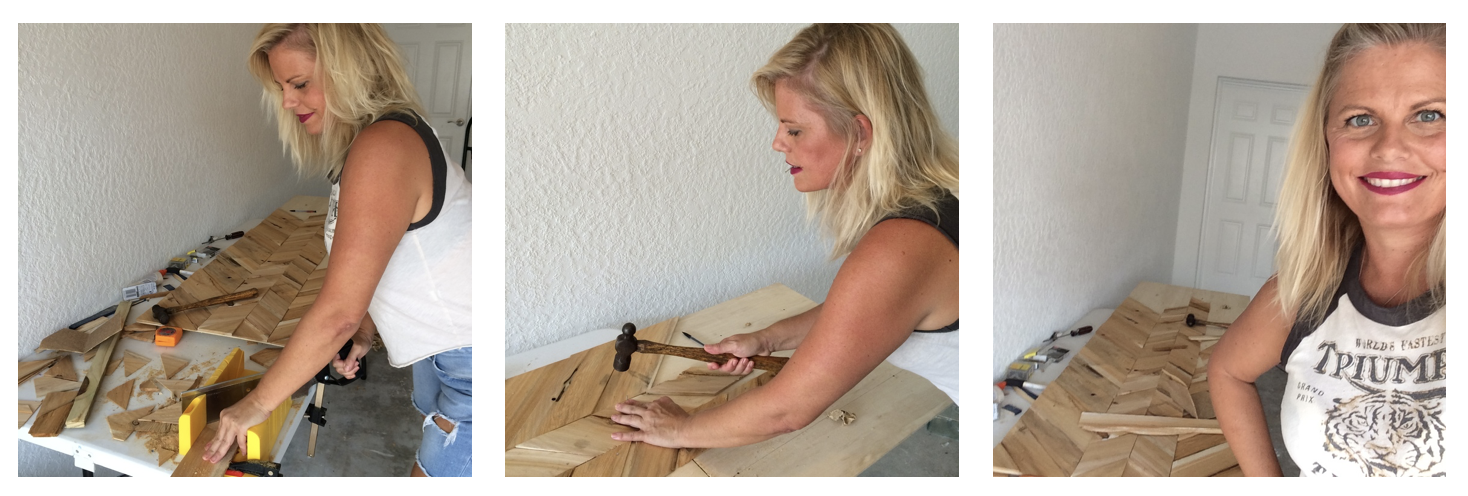
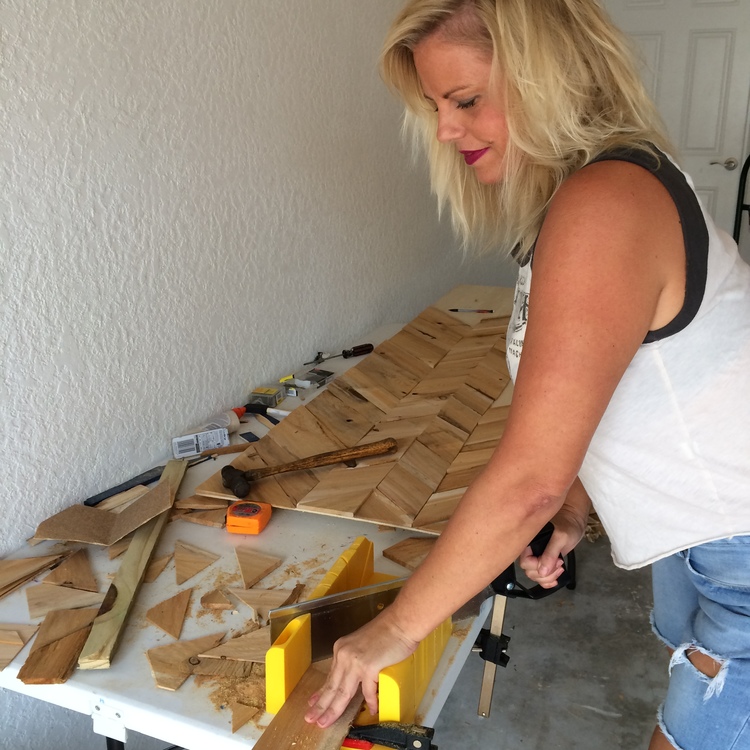
Good thing I have a day job and I started on a Sunday! My hands were too raw to work again on Monday. But by Tuesday afternoon, my Grandpa’s Hammer was calling again and I needed to get some more #HammerTherapy. I spent an hour sawing and nailing my cedar shingles/shims in place and now I am definitely past the halfway mark!!
I have some really awesome ideas for finishing this. First I need to decide on the color of the stain. And my ideas for post-staining are really outside-the-box so I hope it works! Wish me luck? In the meantime, I am going to squeeze in as much #HammerTherapy I can in between my day jobs 🙂 #NoPowerToolsInThisHouse #GrandpasHammer